About
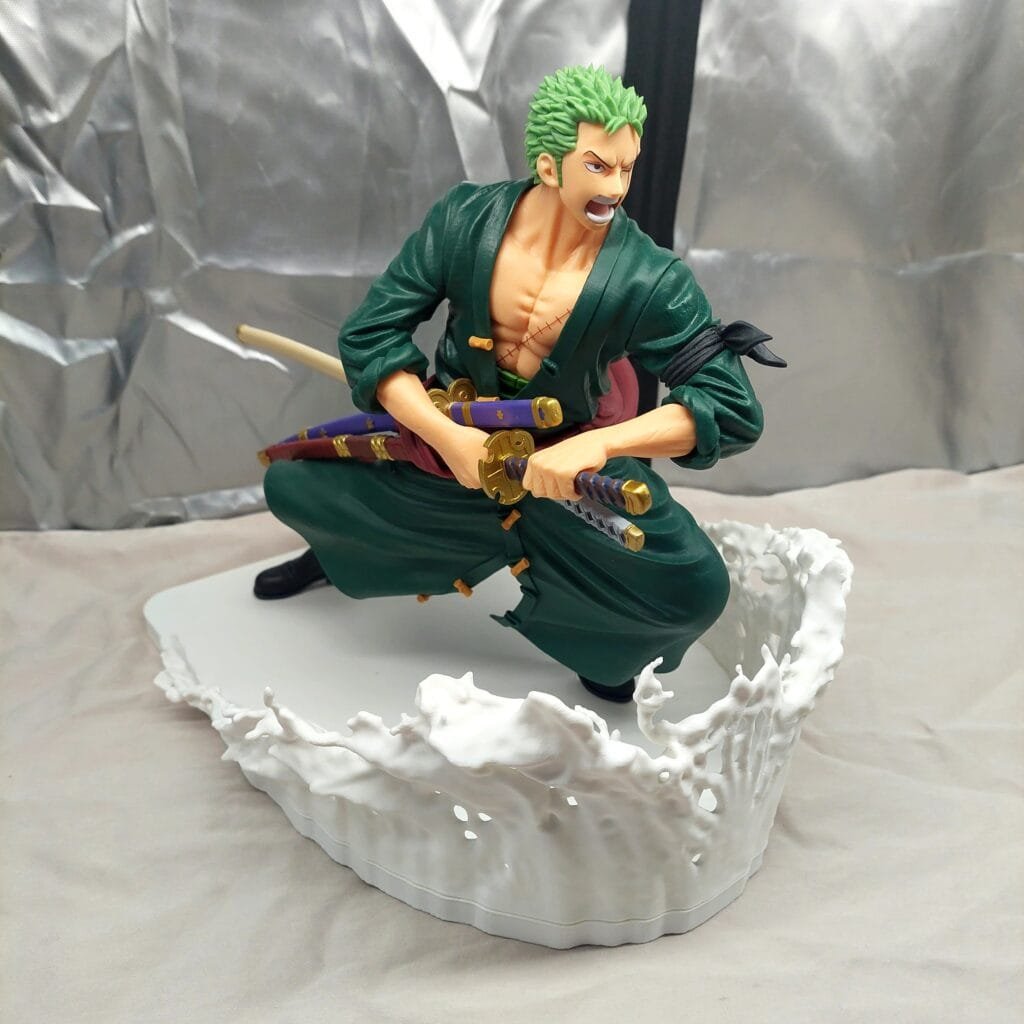
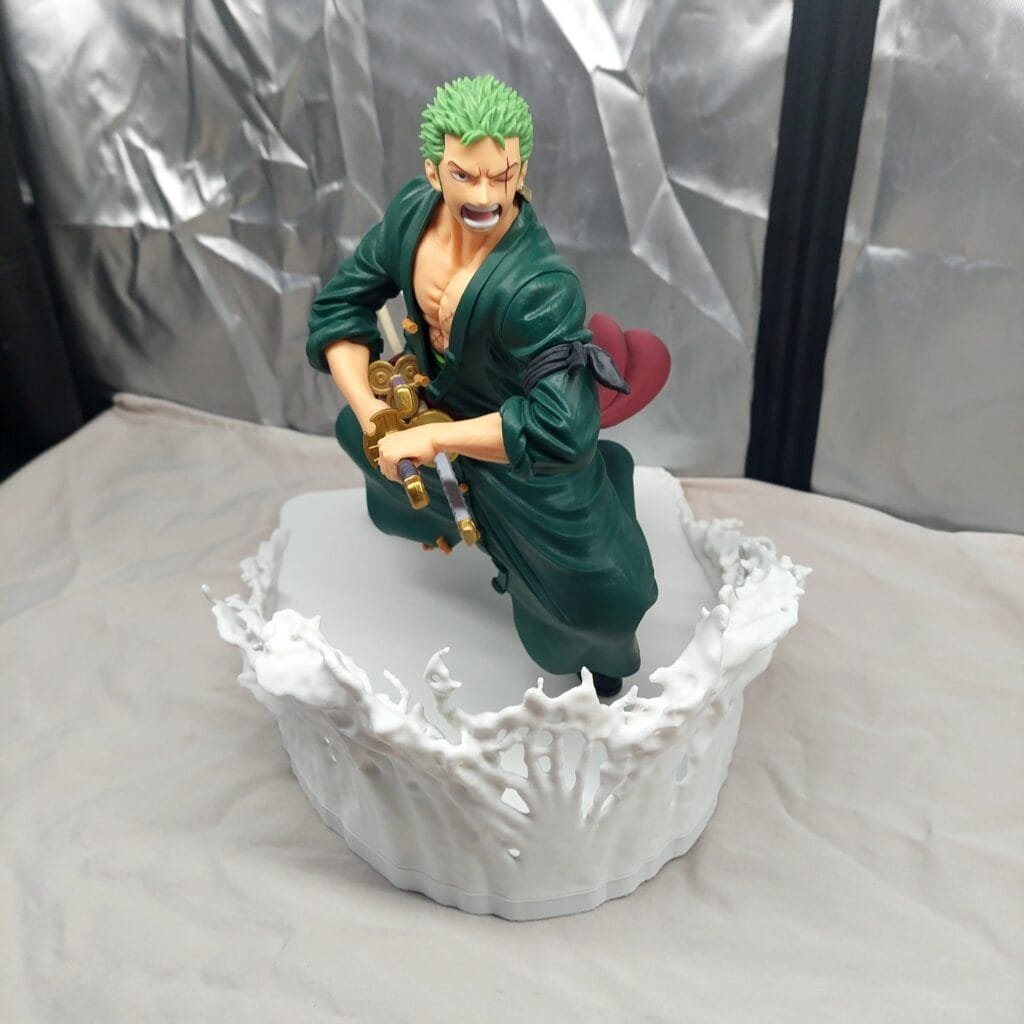
This is a decorative stand I created for my brother as a gift. I used the fluid simulation tools in Blender to create the desired force-field effect and then finished the stand with FreeCAD.
Project Inspiration
My brother has an anime figure in his room of one of the characters from his favorite shows. Unfortunately, the base plate that came with the figure was improperly designed and as a result the model would always fall over. For Christmas, I decided to create a new base plate that would not only prevent the model from falling over, but also incorporate a decorative element. Because of the pose the character is in, I decided that a force-field effect would be a good choice.
Using Blender for Fluid Simulation
I chose Blender for this project because it has built in fluid simulation tools. I found it quite easy to get a fluid simulation setup. In addition to generating the fluid mesh, the sculpting tools were also very useful for cleaning up the mesh and removing unconnected water droplets. To get my desired wind/dust effect, I modified the gravity to be -3 N/kg in the x axis and -5 N/kg in the z axis.
3D Printing
Because of the chaotic geometry and many overhanging points, I decided to split the model in half to help reduce filament waste in case it failed. The base printed fine as it was just a flat piece with a hole in the center for the foot peg to go in. The wave part was printed with 0.08mm layer height, 2 wall loops, and default supports. To my surprise it printed fine. There were a lot of support pieces to remove but I am really happy with the quality of the final result. Since the pegs connecting the pieces were so small, I experimented with using vase mode to linearly extrude the pegs without layer lines. This method worked but did take a couple tries to get the diameter right as the pegs come out smaller than expected.
Pictures / Video
Video of Fluid Simulation
Blender Setup and Render


Final Model


